
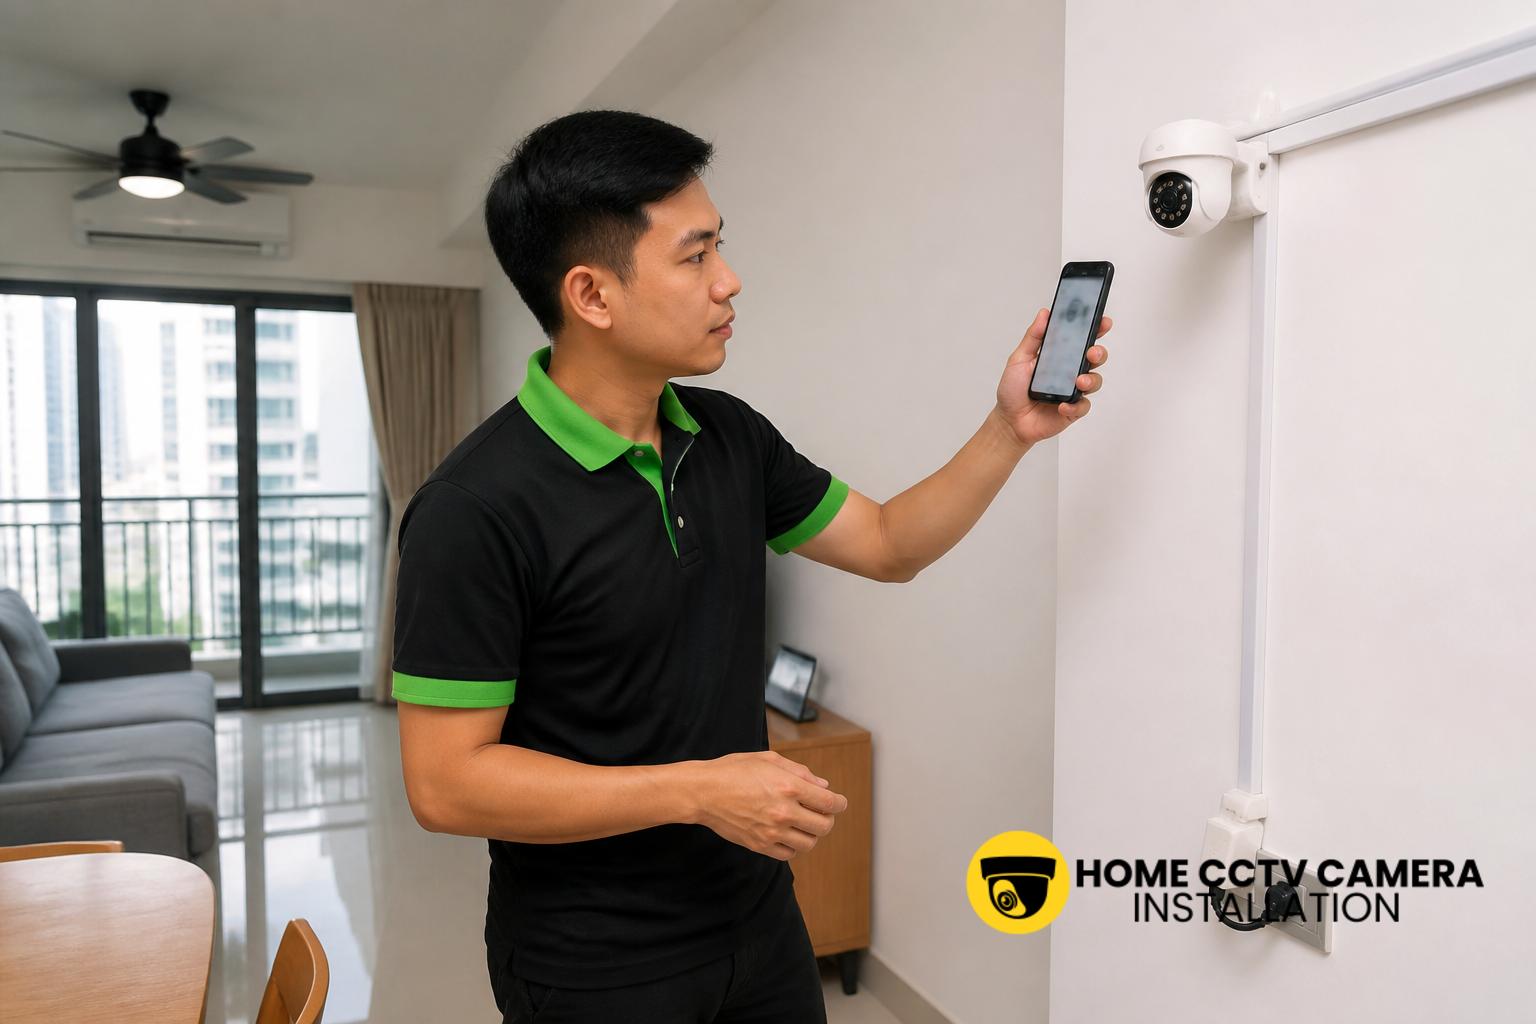
Connecting an IP camera to home Wi-Fi in Singapore is usually straightforward, but the exact steps depend on the camera brand, the app it uses, and how stable your wireless signal is at the chosen location. For homeowners in HDB flats, condominiums and landed properties, the main aim is not just to get the camera online, but to set it up in a way that gives reliable day-to-day coverage with sensible placement, power access and tidy cable routing.
What an IP camera needs before it can join Wi-Fi
An IP camera connects to your home network through your wireless router, then sends live video to a mobile app or recorder. Before starting, make sure you have the camera, its power adaptor, the correct app, and your Wi-Fi name and password ready. Many cameras also need a temporary setup step through Bluetooth, a QR code, or a direct connection to your phone before they can join the network.
In a Singapore home, it is also worth checking where the router sits. If the camera is far from the router, behind concrete walls, or placed at the edge of a unit, the signal may be weaker. That does not mean the camera cannot be used there, but it does mean the connection method and placement need more care.
Choose the right camera location first
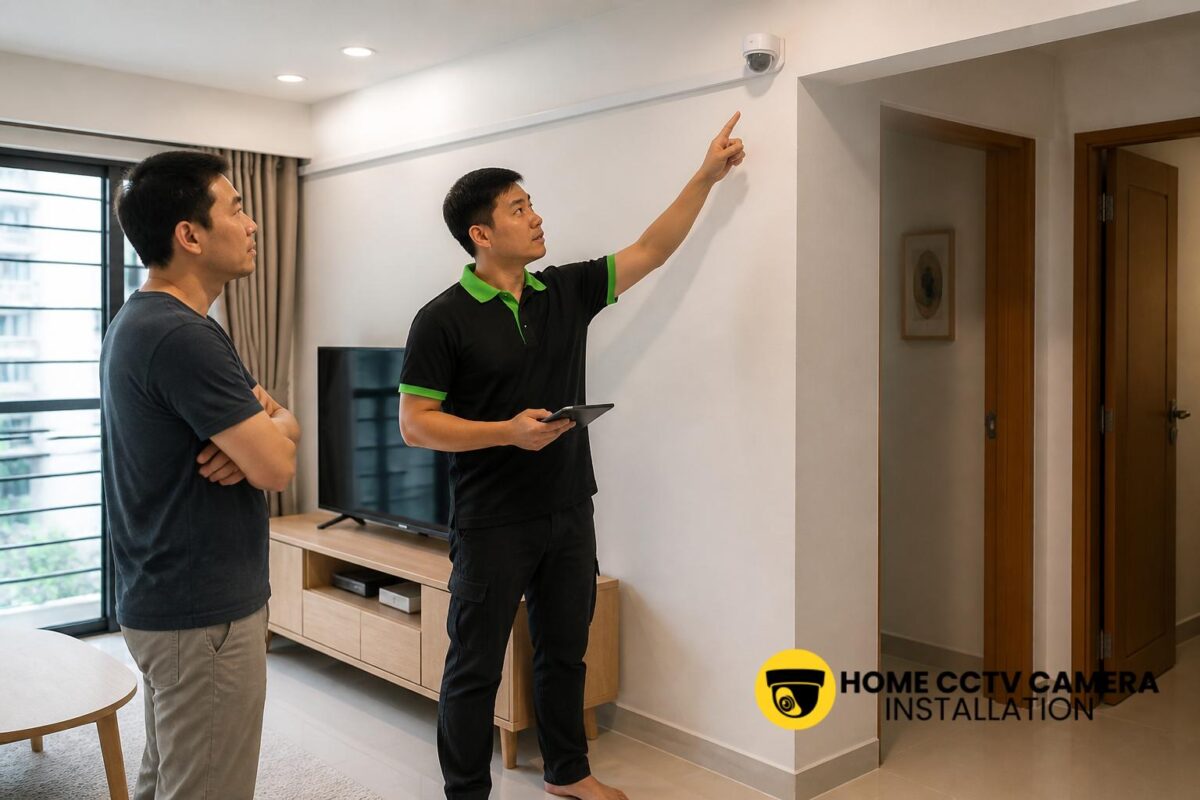
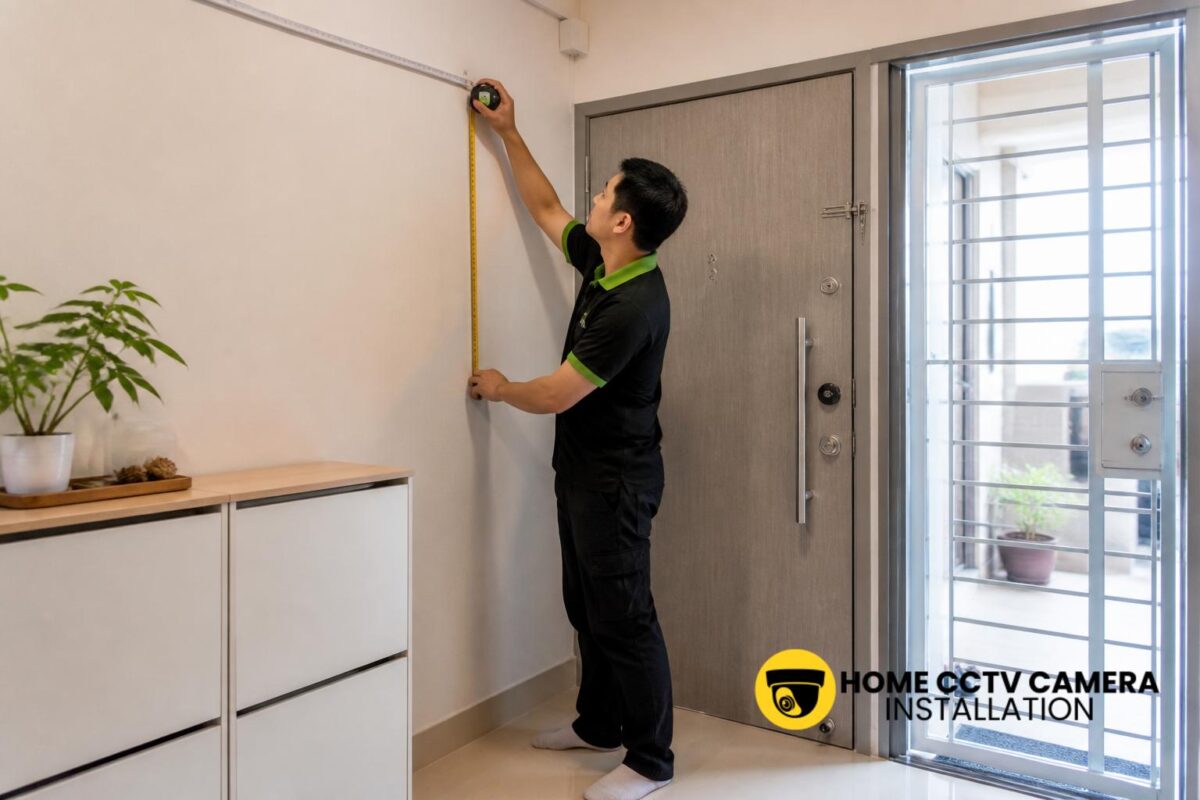
It is tempting to connect the camera wherever there is a spare power socket, but location should come before setup. For an indoor IP camera, think about what you want to see: the main entrance, living room, service yard, balcony, or a corridor-facing point inside the unit. For landed homes, external points such as gate areas, side passages and driveways often need more planning because weather exposure and cable runs become more important.
A good location should have a clear field of view, reasonable access to power, and a stable Wi-Fi signal. If the signal is borderline, the camera may still appear online during setup but later drop off, record inconsistently or load slowly in the app. In many homes, a practical installation plan avoids these issues by placing the camera where both coverage and connectivity are workable.
Prepare the router and network settings
Most home IP cameras connect to a 2.4GHz Wi-Fi network rather than 5GHz. This is because 2.4GHz generally offers better range through walls and across rooms, which suits typical Singapore apartments and houses. If your router combines both bands under one network name, you may need to separate them temporarily during setup or ensure the camera app knows which band to use.
It is also helpful to keep the Wi-Fi name and password simple enough for manual entry. Very long passwords, unusual characters, or multiple similarly named networks can sometimes slow the pairing process. If your router has a guest network, that usually is not the best choice for a camera unless the device instructions specifically support it and you understand how it will affect access.
Typical steps to connect the camera
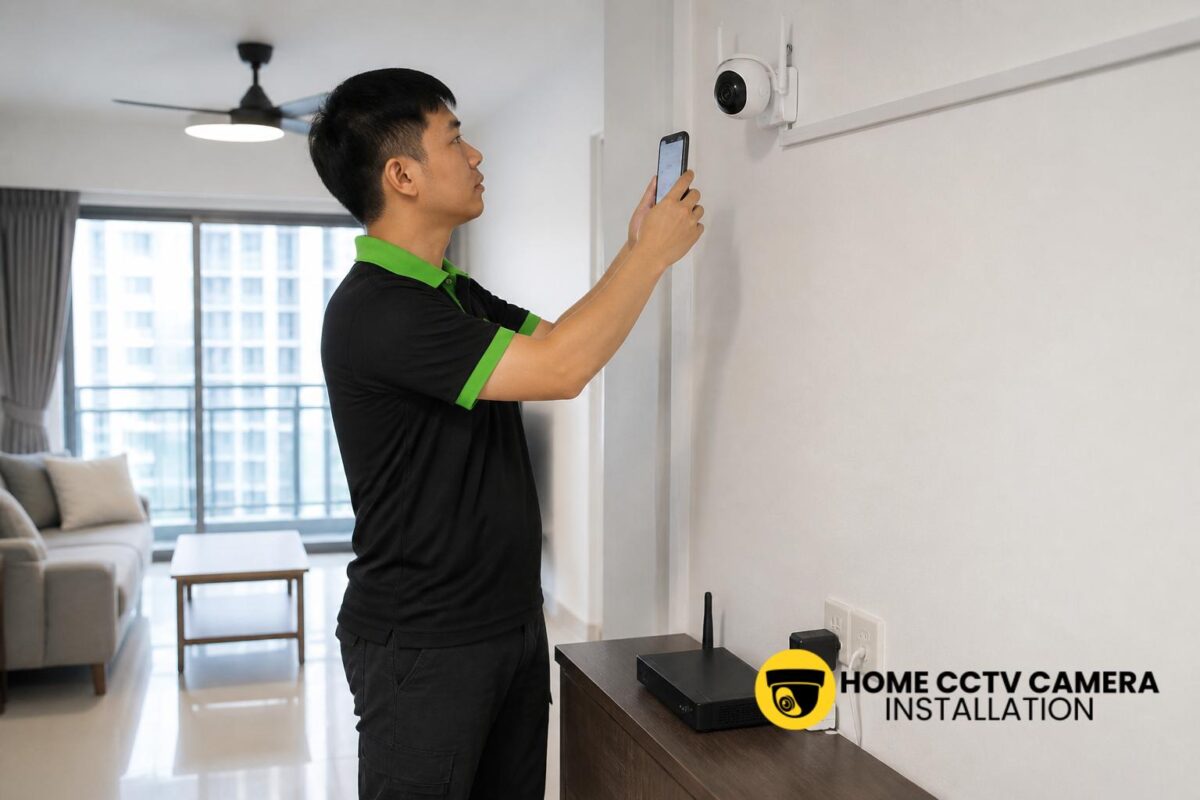
While each brand differs slightly, the general process is similar. First, power up the camera and wait for its indicator light or voice prompt. Then install the manufacturer’s app on your phone, create an account if needed, and choose the option to add a new device. Some cameras will ask you to scan a QR code shown on the phone, while others require pressing a reset button before pairing begins.
After that, the app usually asks you to select your Wi-Fi network and enter the password. Once the camera joins the network, it may take a few minutes to complete firmware checks, initialise motion detection, or update itself. When pairing is successful, test the live view, playback, audio, and notification settings before fixing the camera permanently in place.
Why signal quality matters more than most people expect
An IP camera does not just need internet access; it needs a stable local wireless connection to send video smoothly. In a Singapore flat or condo, reinforced walls, metal door frames, lift lobbies, or thick cabinetry can weaken signal quality. Even when your phone shows full Wi-Fi bars, the camera at the far end of the room may still struggle because it has a smaller antenna and sits in a less favourable position.
If the camera keeps disconnecting, you may need to move the router, adjust the camera position, or use a wired solution instead of relying solely on Wi-Fi. For homes that need long-term reliability, some owners choose structured cabling or wired IP camera installation with network support at selected points, especially where the camera view is important and cannot be compromised by wireless dropouts.
Indoor, corridor-facing and outdoor placement in Singapore homes
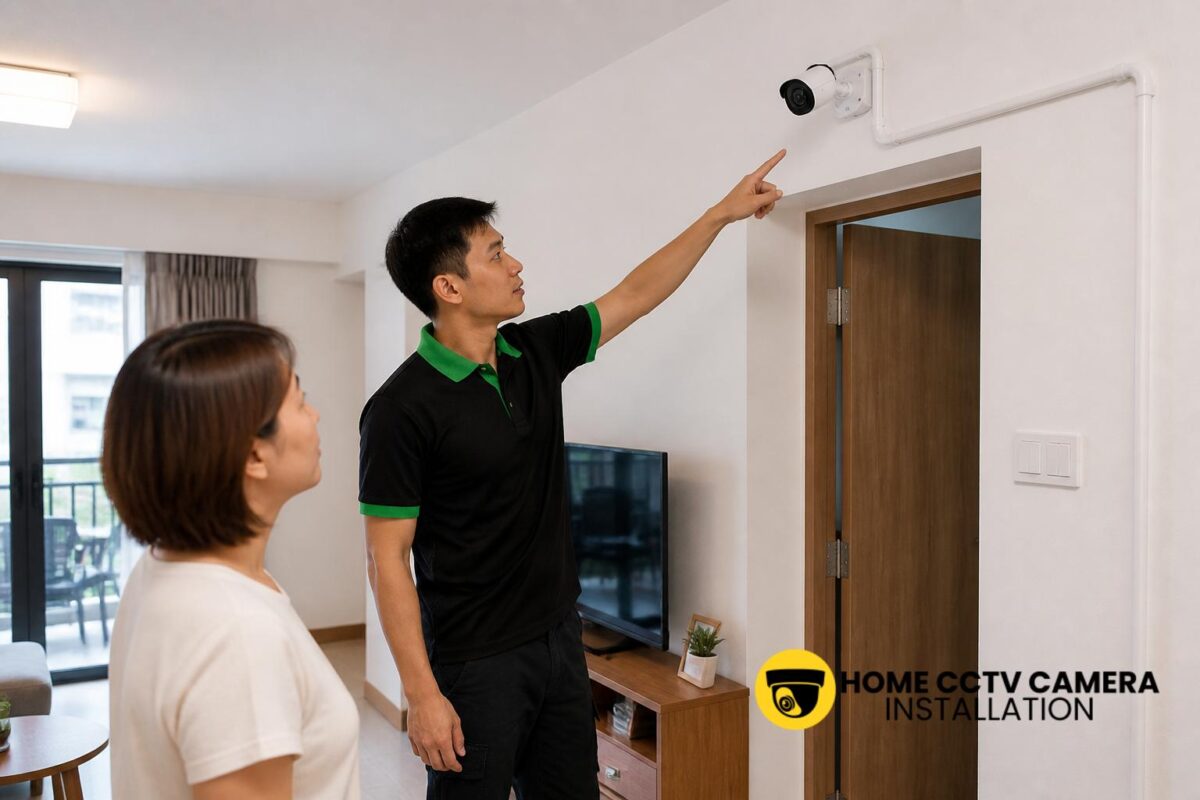
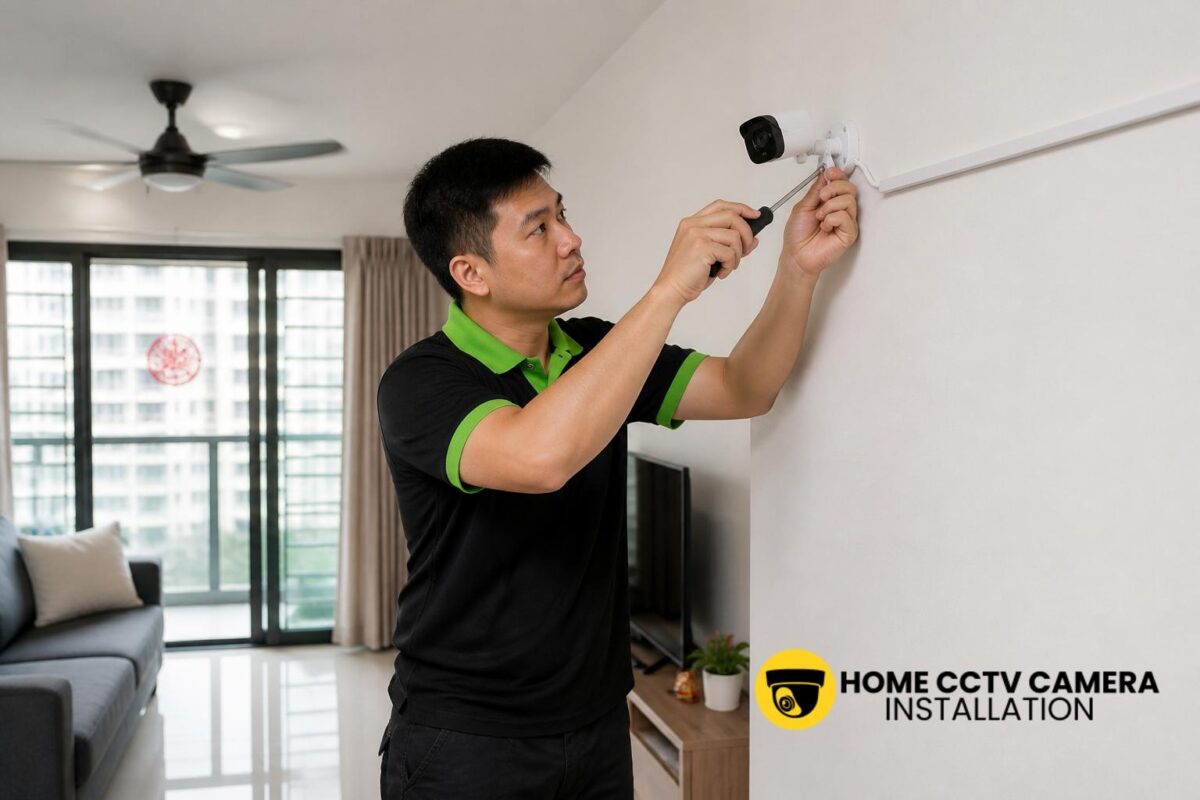
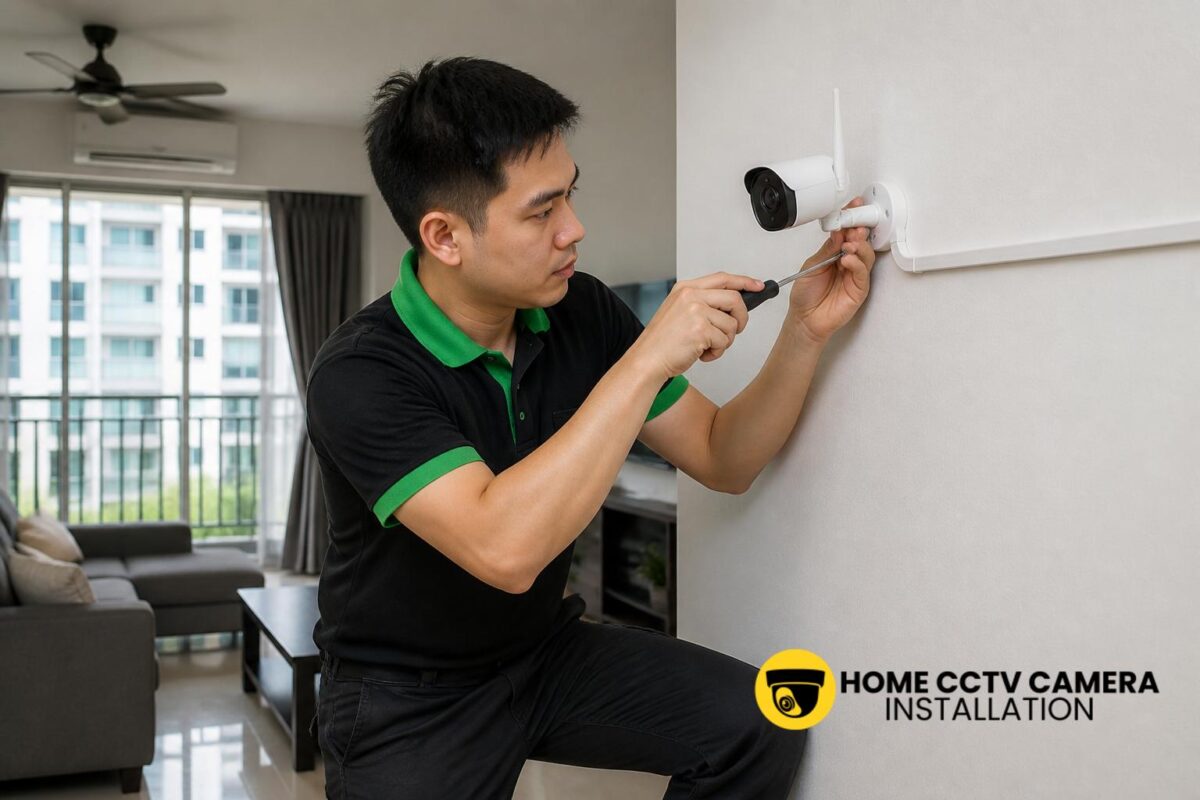
For indoor cameras, Wi-Fi setup is usually simpler because the device is protected from heat and rain. The main concerns are power access, cable neatness and privacy within the home. In flats and condos, many homeowners prefer discreet mounting near entrances or common areas, with the cable routed neatly along skirting or concealed where possible.
Outdoor or semi-outdoor locations need more attention. For landed homes, camera housings should be suited to the exposure level, and cables should be protected against moisture and physical wear. Wi-Fi may also be less stable outdoors, especially if the router is deep inside the house. In those cases, a professional assessment can help determine whether a wireless setup is practical or whether a wired connection would be the better choice.
Common setup problems and how to avoid them
One common issue is the camera not finding the Wi-Fi network during pairing. This can happen when the phone is connected to 5GHz while the camera expects 2.4GHz, or when the router password is entered incorrectly. Another common issue is pairing success followed by weak performance later, which usually points to signal strength rather than a faulty camera.
Other problems include app permissions not being enabled, firmware needing an update, or the camera being too far from the router at the time of setup. If the device supports Ethernet for initial configuration, that can sometimes simplify the process. For homeowners who want the camera mounted neatly from the start, installation planning often matters as much as the pairing itself.
When installation support is worth considering
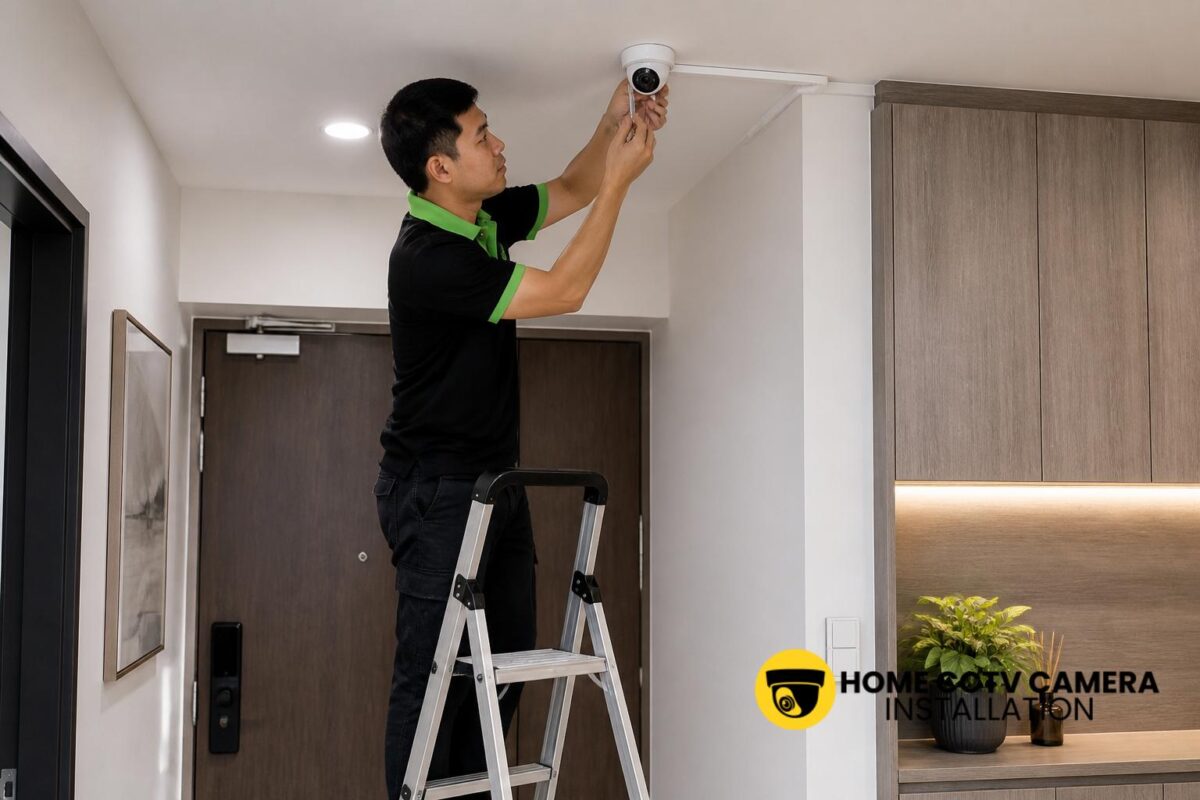
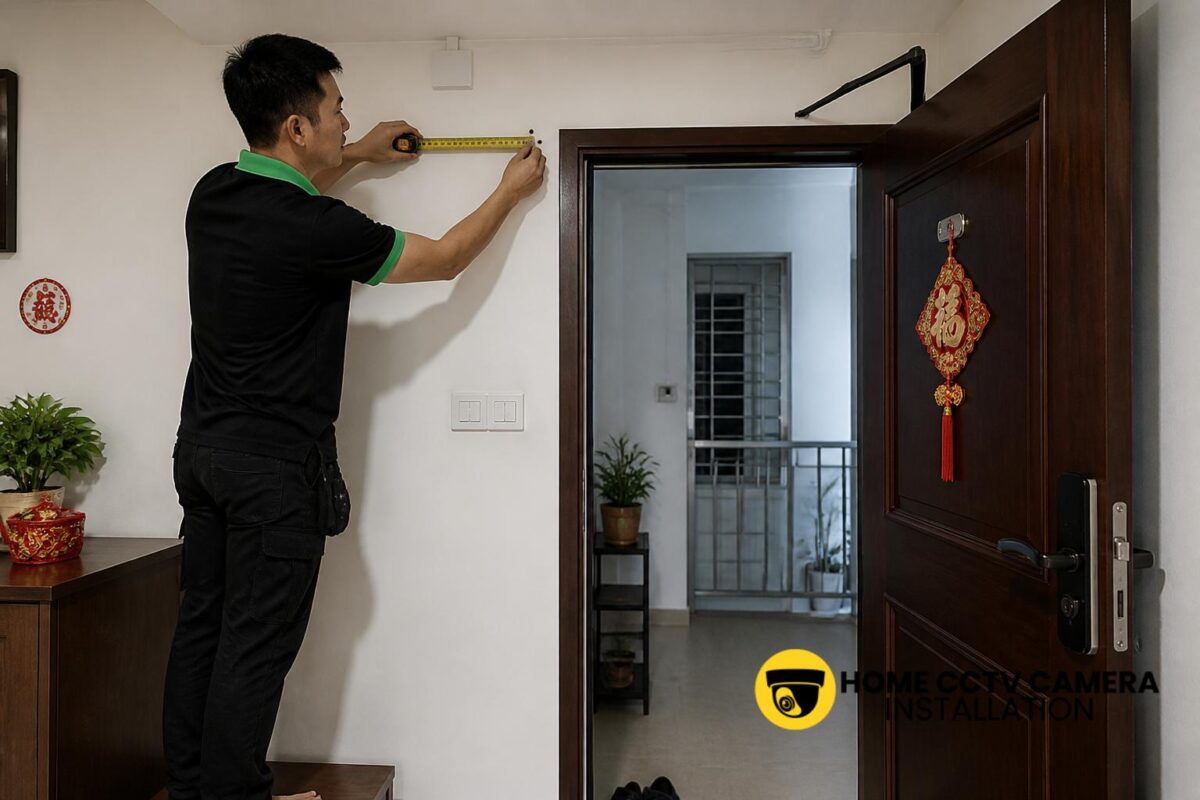
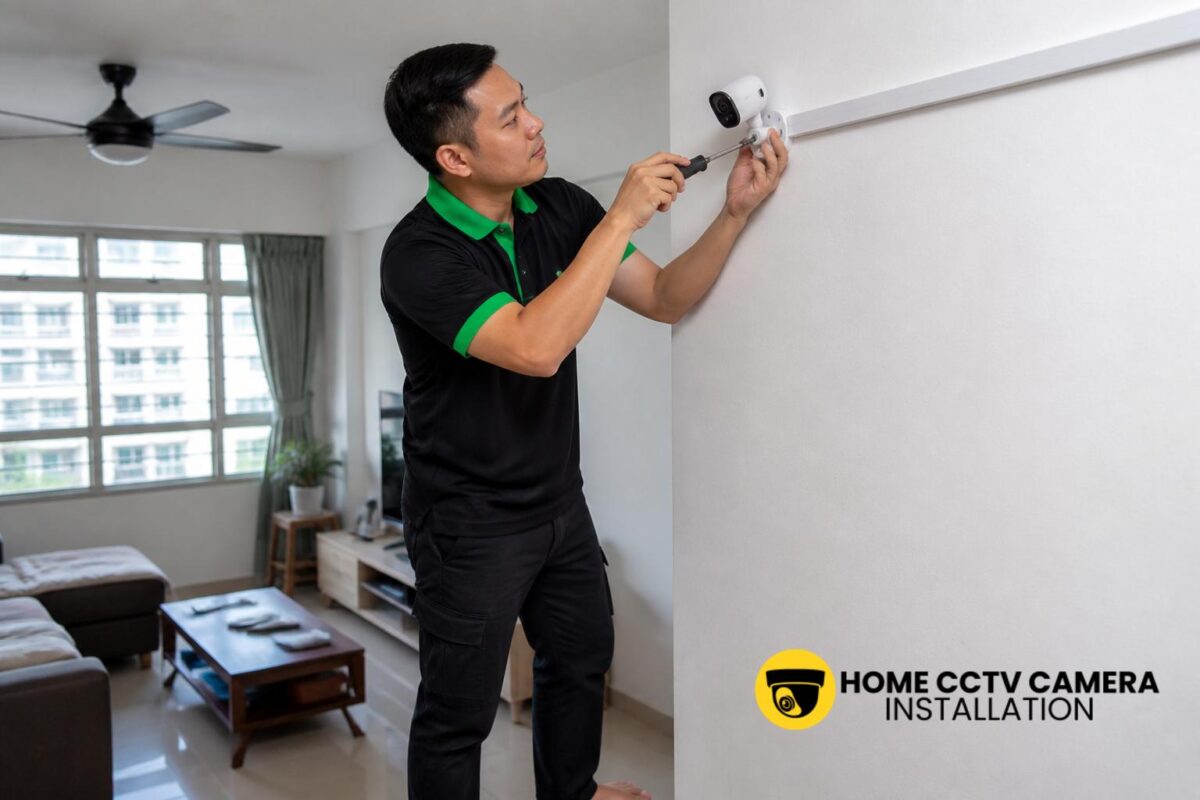
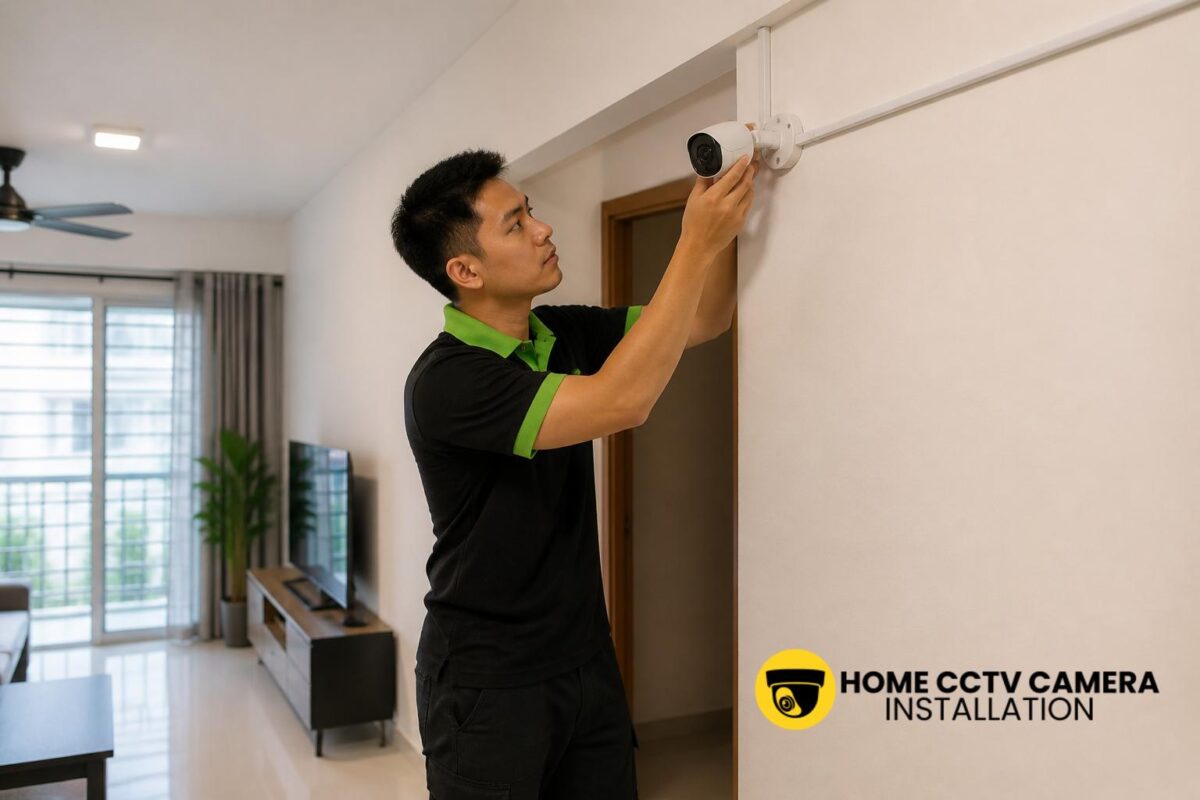
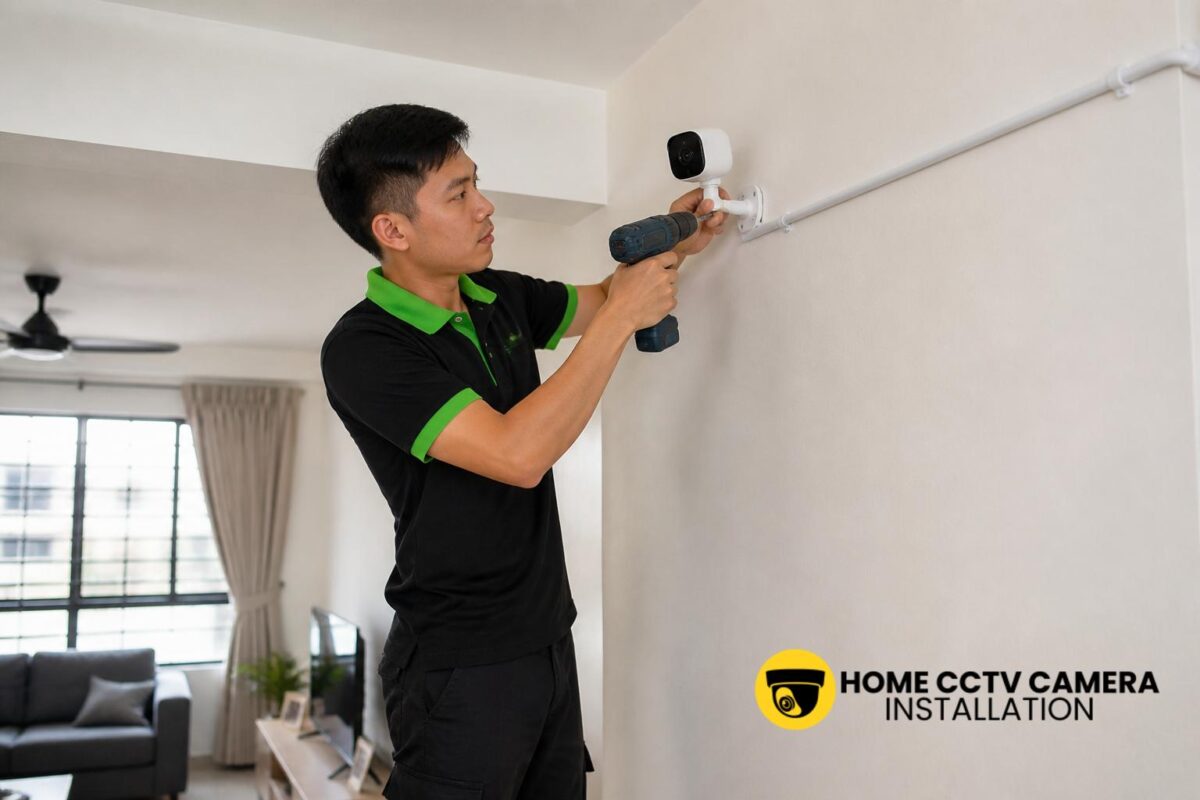
Some IP cameras are designed for quick DIY setup, but not every home is equally suitable for a simple plug-and-pair approach. If the camera needs mounting on a ceiling or high wall, if cables must be routed cleanly, or if the chosen point is not close to a socket, professional installation support can save time and reduce mess. This is particularly relevant in homes where you want the camera positioned properly on the first attempt.
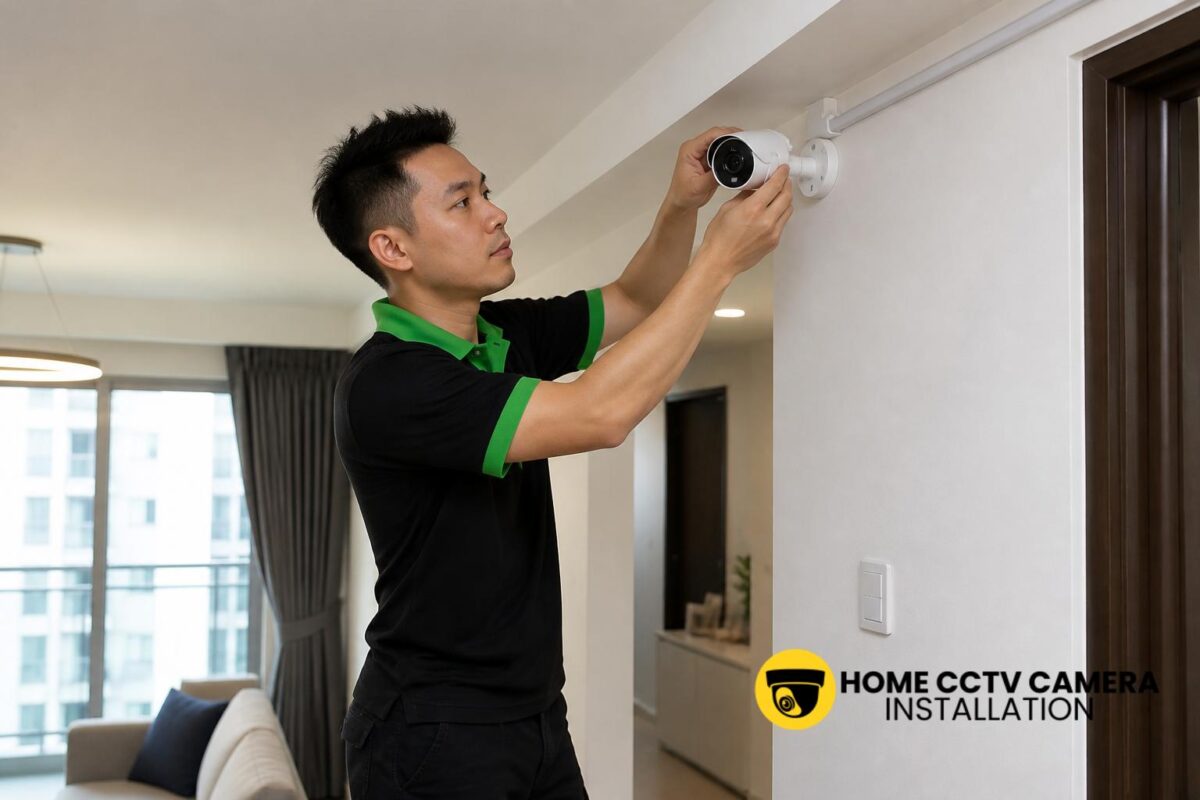
Installation support is also useful if you already have a customer-supplied camera and need help with mounting, cabling, power-point arrangement and final testing. In practice, a well-planned installation can make the Wi-Fi connection more dependable because the camera is placed where the signal and the viewing angle both make sense.
If you would like help with your home CCTV camera installation, WhatsApp Home CCTV Camera Installation Singapore here: Send a WhatsApp enquiry with your property type, number of cameras, supply-and-install or installation-only requirement, intended camera locations, existing equipment, cabling or power-point needs, and preferred schedule.
Conclusion
Connecting an IP camera to home Wi-Fi is usually a manageable process, but the best results come from planning the camera location, checking signal strength, and matching the setup method to your home layout. In Singapore, where HDB flats, condominiums and landed homes each present different mounting and connectivity considerations, a practical approach helps the camera work more reliably after installation rather than only during the first pairing.
If you treat the Wi-Fi connection as part of the wider installation plan, you are more likely to end up with a camera that is neatly mounted, properly powered and usable day to day.
Choose Home CCTV Camera Installation Singapore
Home CCTV Camera Installation Singapore provides professional CCTV installation Singapore services for residential properties, supporting homeowners with reliable home CCTV and CCTV system Singapore solutions. Our services cover both home CCTV installation and installation only support for homeowners who already own a CCTV camera, IP camera, or security camera setup.
We work with various CCTV systems, including IP cameras, IP security cameras, surveillance cameras, and other configurations. Our installation services include camera mounting, basic cabling, and power point installation where required to ensure each CCTV camera is installed safely and positioned for effective coverage. From layout planning to final setup, we focus on practical CCTV installation that suits everyday home environments.
Serving households islandwide, Home CCTV Camera Installation Singapore delivers trusted solutions with a strong emphasis on workmanship, system reliability, and long-term usability. WhatsApp +65 8241 0032 for enquiries on our home CCTV installation services.
Frequently Asked Questions
Do IP cameras in Singapore usually connect to 2.4GHz or 5GHz Wi-Fi?
Most home IP cameras connect to 2.4GHz Wi-Fi because it generally offers better range through walls and across rooms. Some newer models support both bands, but it is still important to check the camera’s instructions before setup.
Why does my camera connect during setup but keep dropping offline later?
This often means the Wi-Fi signal at the camera’s final location is weak or unstable. The camera may pair successfully near the router, then struggle once it is mounted farther away. Moving the camera, adjusting the router position, or using a wired installation can help.
Can I install a customer-supplied IP camera and still connect it to Wi-Fi?
Yes, in many cases the camera can be mounted and configured even if you supplied the device yourself. The main points to confirm are the camera model, power requirements, mounting point, cabling path and whether the app-based Wi-Fi pairing process is supported.